


-

-
Call Today:
(972) 418-1800Follow Us on:


Eventually all highlights will turn to a yellow or cloudy color because of oxidation. This not only looks bad, but it also lowers visibility at night. Thankfully, there are things that you can do to clean your foggy headlights and restore them back to their original condition. This process is one that can be done using simple products you most likely have at home.
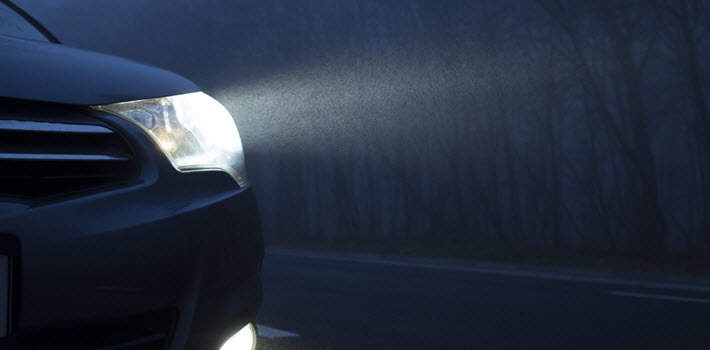
Headlights help you to see while you are driving at night, but they also help other cars to see you. If your headlights are yellow or cloudy, it could potentially cause an accident. If you live outside of a major city, you will find that this problem can get much worse, as you will not be able to see much of the road since there is often very limited street lighting in rural areas.
Keeping your car clean will help to guarantee your overall safety. There are plenty of aftermarket solvents that help you to restore yellow headlights. However, these can be very expensive and it may be in your best interest to try something cheap at home long before you head out to the store to purchase something more expensive.
In order to properly clean foggy headlights on any vehicle, you need to make sure that you have a bucket, a clean cloth or sponge, a water source, some bowls, dish soap, and baking soda. To begin, you have to make the headlight cleaning solution which consists of a gallon of warm water and some dish soap mixed together in your bucket. If you have an environmentally friendly dish soap that is always best, especially for people who might be rinsing away the solution down a public dream. In a separate bowl, add 5 tablespoons of baking soda to warm water, adding water in small increments until it forms a paste. Once that is done, it’s time to start cleaning and polishing.
Start with the soapy water and a sponge. Use that to clean all of your headlights and your tail lights. Get rid of any dead bugs or debris. It is always beneficial to rinse the headlights first so that they are already wet. If you let them sit in the moisture for a few moments, this can be helpful when it comes to removing hard debris like bugs that have been caked on for months. With the sponge you want to use small, circular movements to remove any debris. When you are done and the headlights are clear from debris and dirt, rinse them off to remove any of the soapy residue.
Now that you are done washing, it’s time to start polishing. For this, take your baking soda mixture and a clean cloth, using the same small circular motions to polish the headlights. The baking soda acts as a buffing agent and it helps to remove the yellow color. Baking soda absorbs most of the oxides that are on your headlights. Having already cleaned your headlights, you should not need to apply a great deal of pressure to get this done. In fact, the baking soda does most of the work for you.
Be advised that you should not rub the baking soda on your paint around the headlights. Only touched the headlights themselves. Baking soda could cause a pattern of swirls or dull your paint. This is a step you can repeat a handful of times until you get the results that you want. Once that is done, it is time to give your headlights a final rinse so that the white paste is removed. You can also go over them a final time with your soapy sponge and then dry them off.

If you are not satisfied with the results generated by the at home measures, there are headlight restoration kits that you can purchase. These kits help with scratched headlights and are great for older cars that don’t have replacement lenses on the market. If that doesn’t work for you we can also handle the cleaning process for you and get your headlights looking like new. Come to Ultimate Bimmer Service, convenient to Carrolton and Dallas, TX, for all your car’s maintenance and service needs.
Site Design & Marketing by 
Follow Us on :